Guide to Configuring Limited Bandwidth in SECUI Bluemax NGF
In a corporate network environment, bandwidth management is not just a technical task, it’s about ensuring performance and user experience. When one department consumes excessive bandwidth, other teams may struggle to access essential services smoothly. That is why the bandwidth limiting feature or QoS (Quality of Service) in Next Generation Firewall such as SECUI Bluemax NGF must be utilized.
If you’re looking for a quick and effective way to configure limited bandwidth in Bluemax NGF, this guide will walk you step by step through the process.
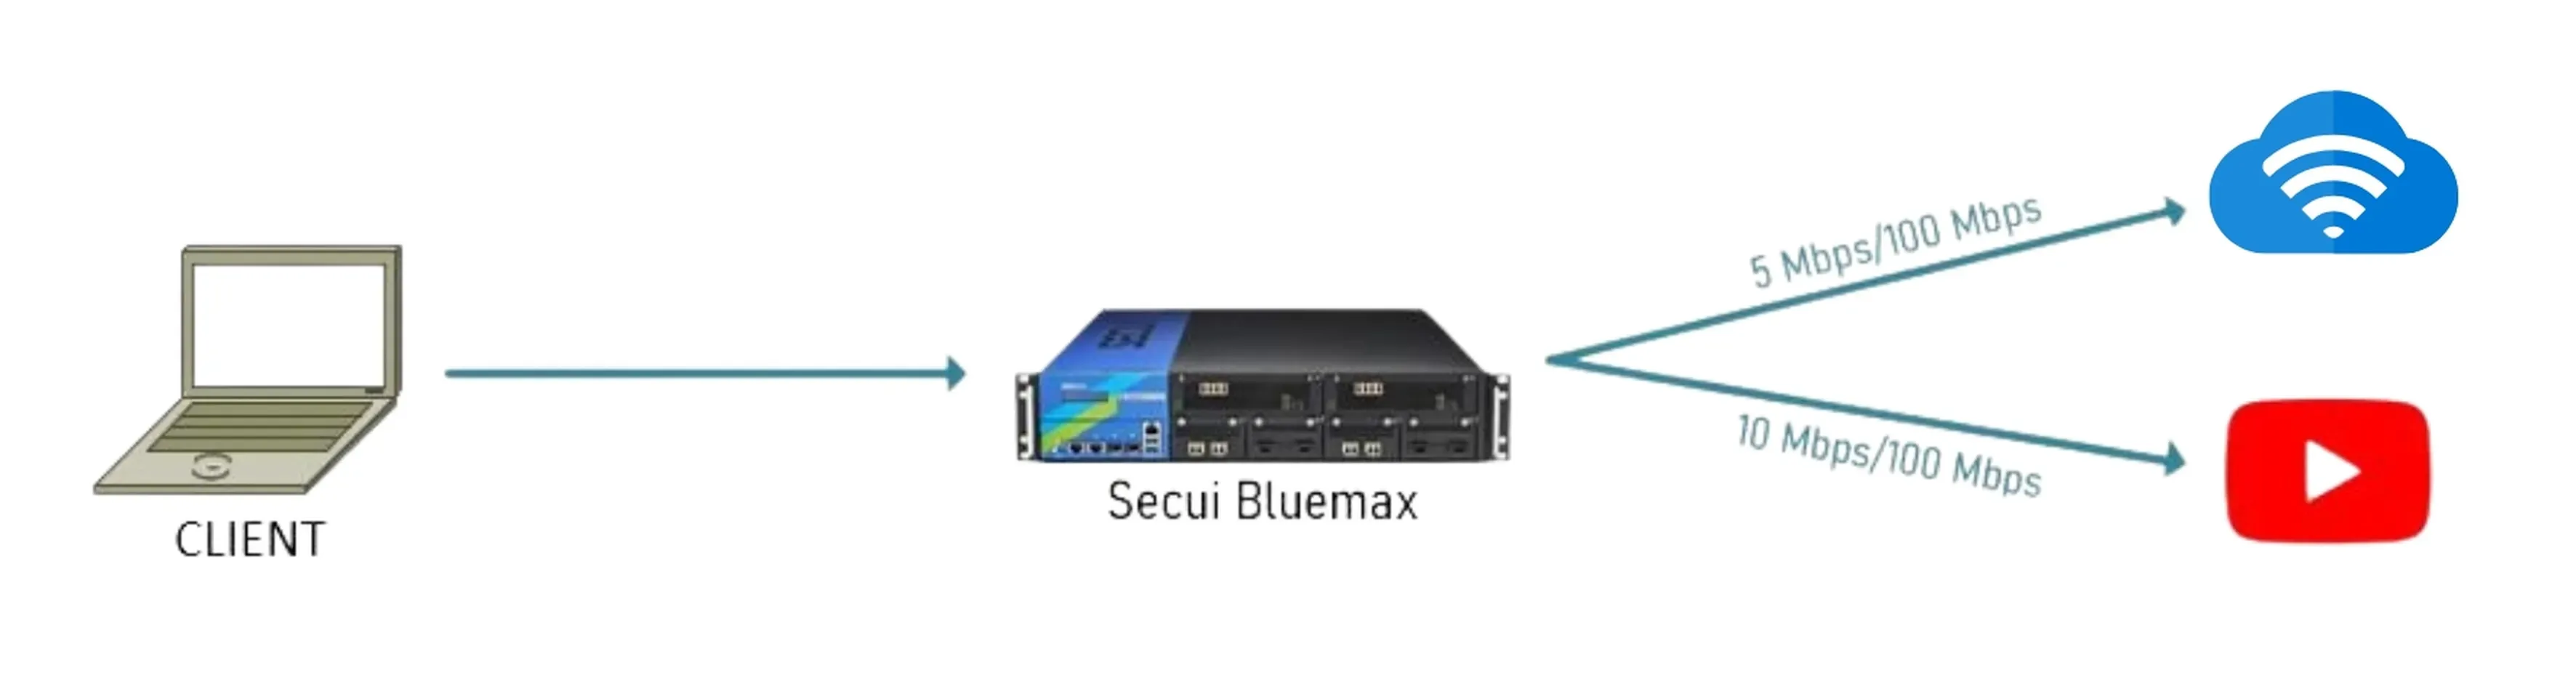
Figure 0.1 Network Topology
1. Test Internet Speed
Before configuring bandwidth limiting in Bluemax NGF, it’s best to check your internet speed first. The results will serve as a reference when setting the bandwidth limit later.
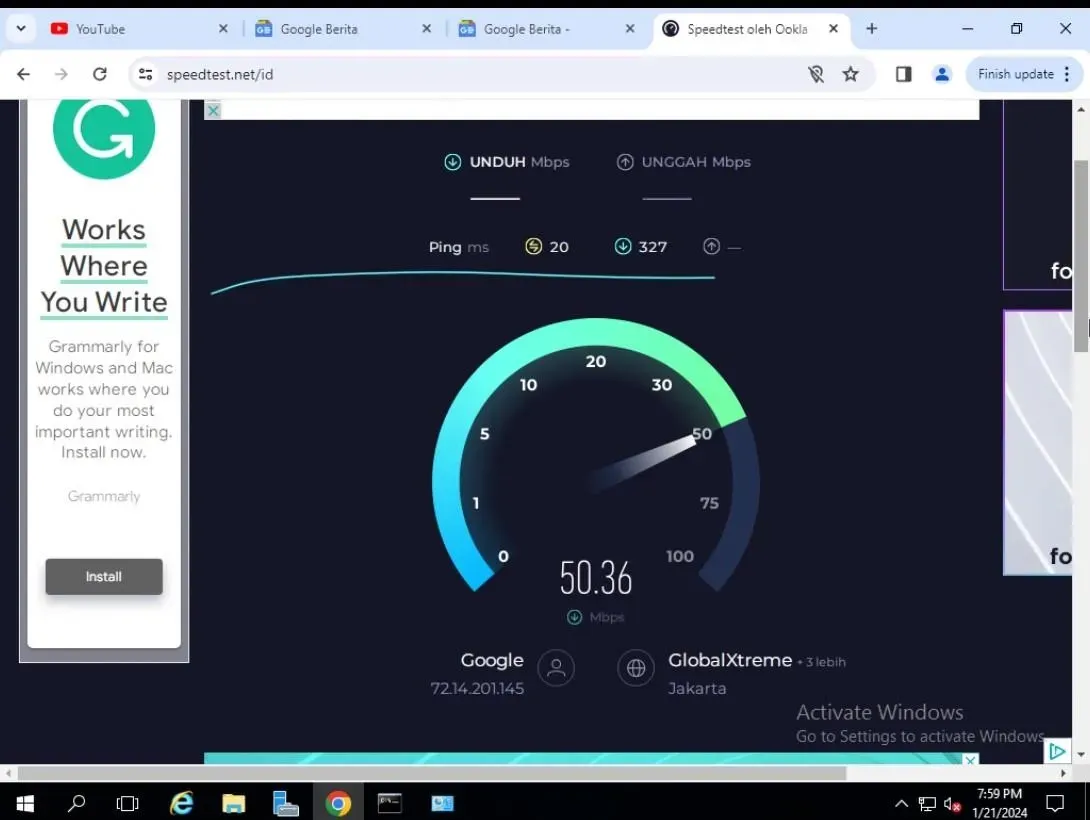
Figure 1.1 Internet Speed Testing
2. Log In to Bluemax NGF
Open your browser and log in to the Bluemax NGF web interface using an account with configuration privileges.
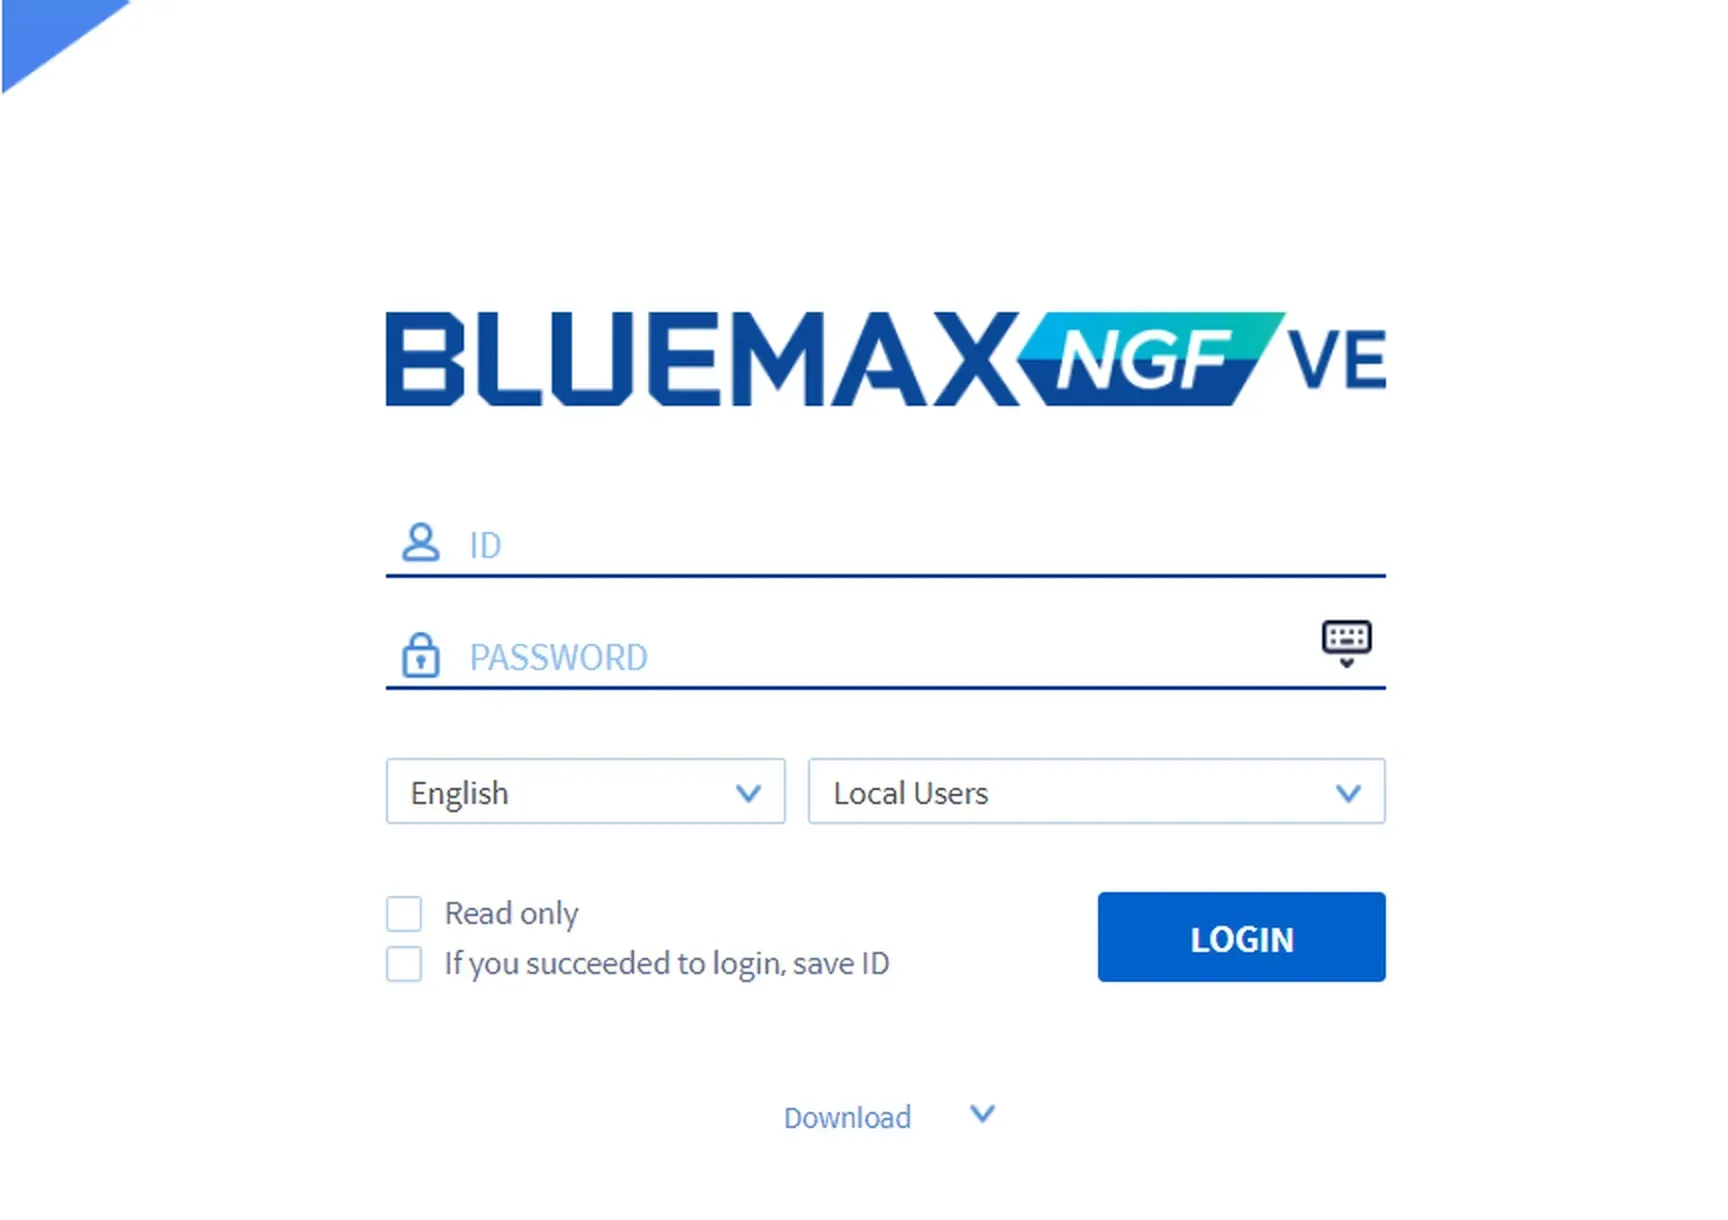
Figure 2.1 Bluemax NGF Login Page
3. Navigate to QoS Profile Settings
Once logged in, go to:
Security Policy > QoS > QoS Profile Settings
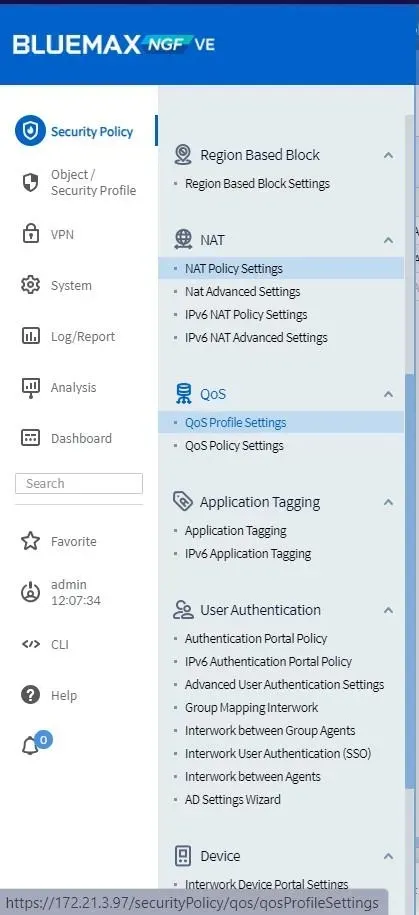
Figure 3.1 QoS Menu
Here you’ll create the main QoS profile. This is a crucial step in firewall QoS configuration. Click Add.
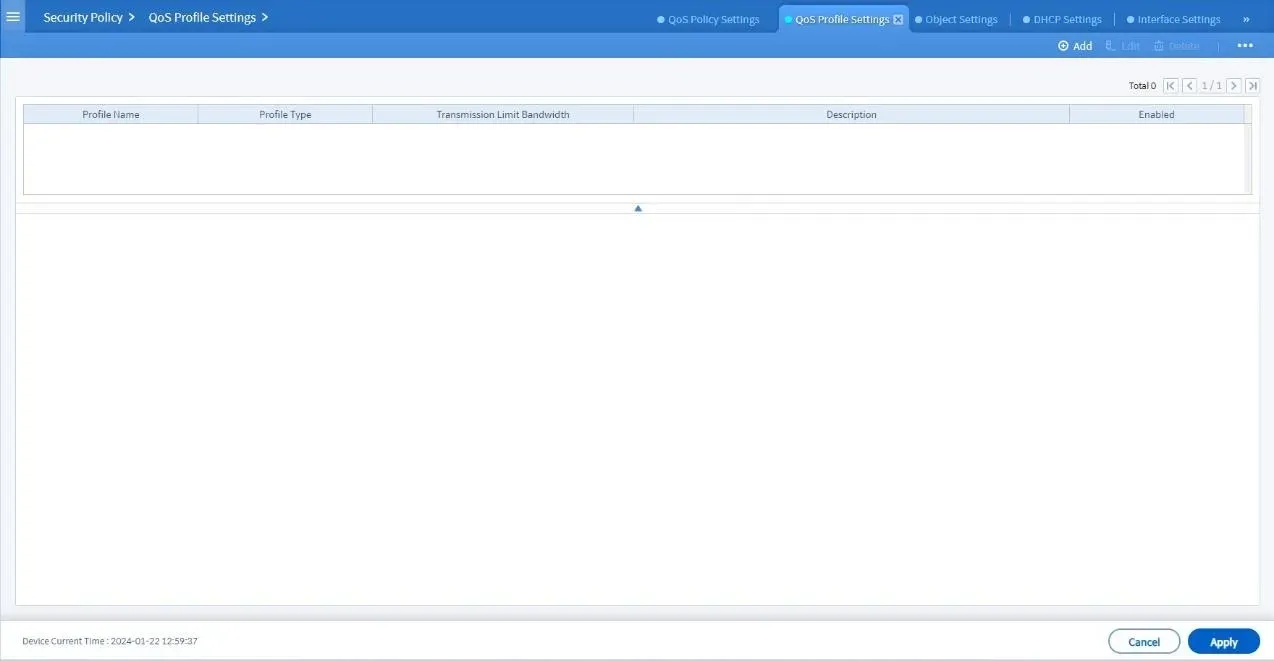
Figure 3.2 QoS Profile Settings
In the Add Profile form, fill in the details:
- Transmission Limit Bandwidth: Adjust according to your main network bandwidth.
- Profile Type: Select Firewall QoS Profile.
- Profile Name: e.g., Limited Bandwidth.
- Click OK.
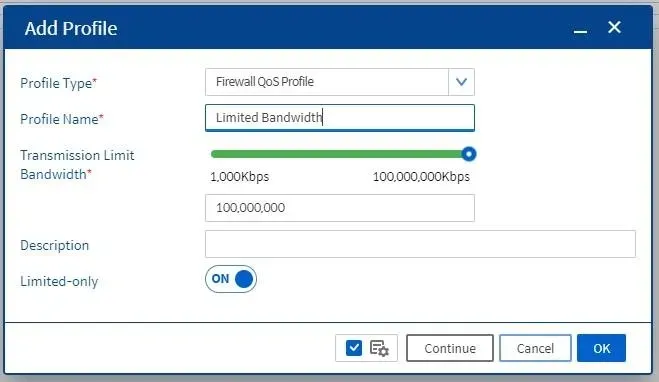
Figure 3.3 Add Profile
It’s recommended to match the limit with your existing bandwidth, as this will become the default for all users.
4. Add a Queue (Bandwidth Allocation)
Go to the Queue menu to configure bandwidth details, then click Add.

Figure 4.1 Queue Name
Fill in the parameters:
- Enter the bandwidth limit according to your needs.
- Click OK.
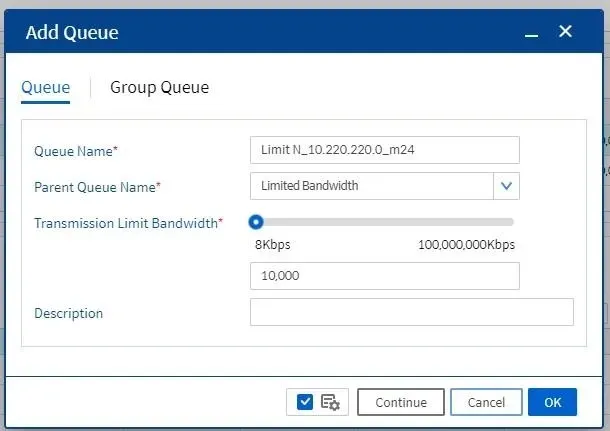
Figure 4.2 Queue Parameters
This queue will later be attached to your firewall policy, which is a key step in firewall bandwidth management.
5. Add a Firewall Policy
Navigate to:
Security Policy > Firewall > IPv4 Firewall Policy
Then select the policy where you want to apply the bandwidth limit.
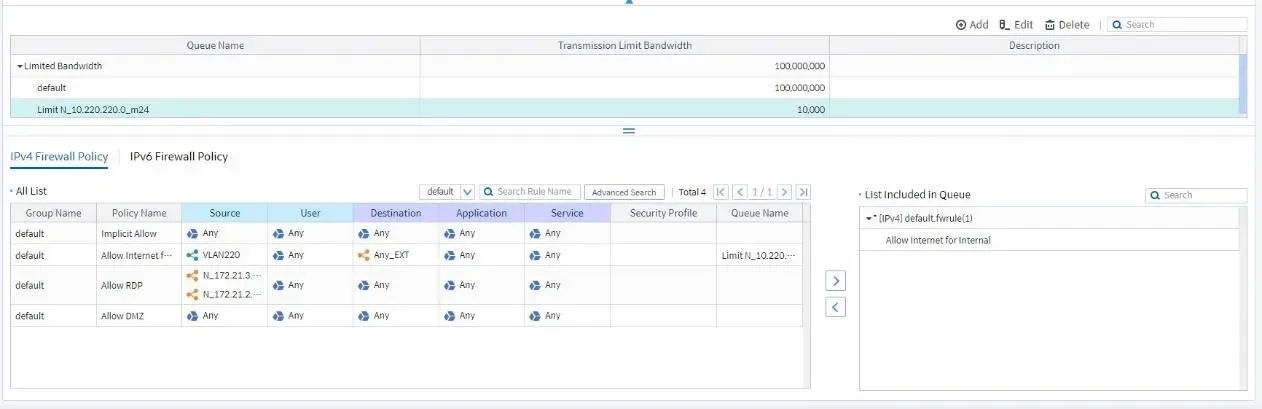
Figure 5.1 IPv4 Firewall Policy
6. Create QoS Policy Settings
Go to:
Security Policy > QoS > QoS Policy Settings
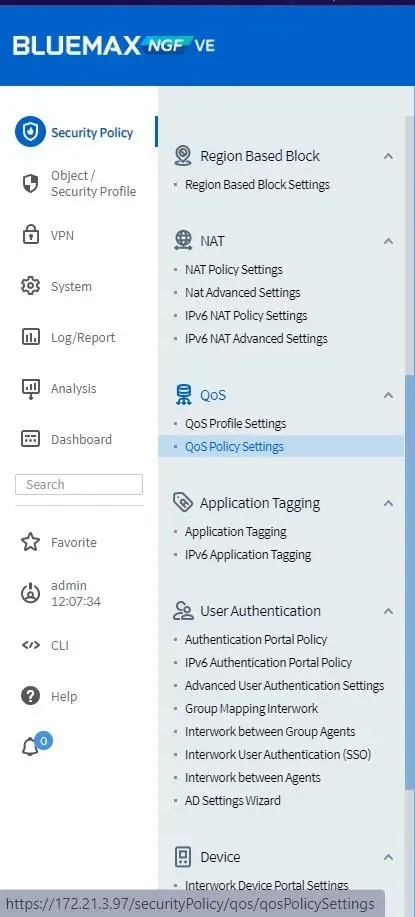
Figure 6.1 QoS Policy Settings
Click Add, then configure the parameters:
- Control Target: Select System.
- Profile: Choose the QoS profile you created earlier.
- Click OK and check Execute (Enable) to activate.

Figure 6.5 Enable Execute
7. Test and Monitor
After activation, test internet speed again from a user’s perspective. You should notice a significant difference in line with the bandwidth restrictions.
For further monitoring, go to:
Analysis > System > QoS Analysis
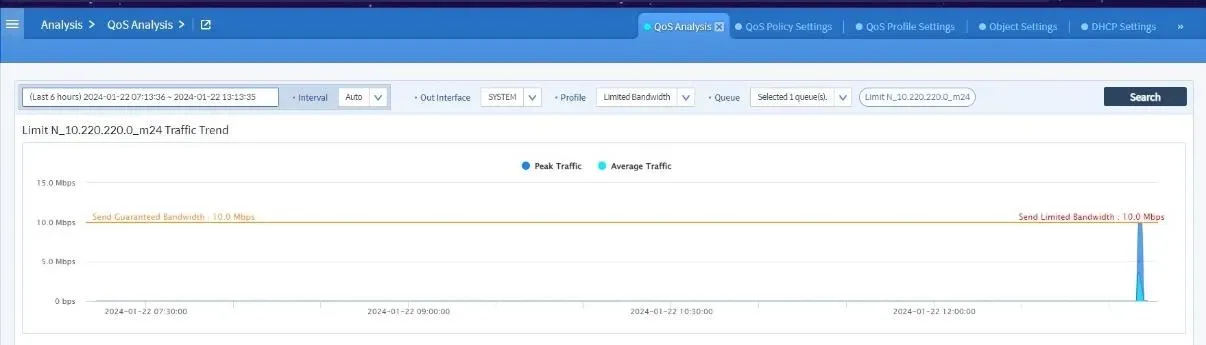
Figure 7.3 QoS Analysis Dashboard
Conclusion
Configuring limited bandwidth in Bluemax NGF not only stabilizes your network but also ensures fairness across all departments. Everyone gets a fair share of the connection, preventing bandwidth monopolization by a single heavy user.
This firewall bandwidth management setup is simple: create a profile, configure a queue, attach it to a firewall policy, then enable and monitor it.
If you need further assistance or want to learn more about network security and bandwidth management solutions, feel free to contact our team.
Last Updated
August 10, 2025
Category
SECUI Configuration, Network Security
Share This
On This Page
Contact us for
Free Consultation!
Share your challenges, and we'll provide the best solutions for your business, Connecting with us is as simple as clicking a button, and let us come to you.